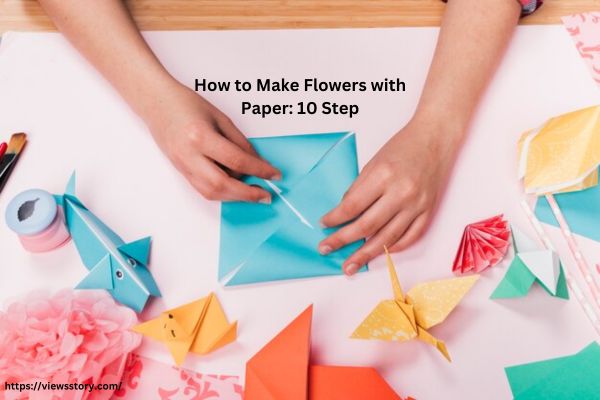
Flowers have always been a symbol of beauty, love, and creativity. They brighten up any space and can make a wonderful gift for a loved one or a beautiful decoration for special occasions.
While real flowers are undoubtedly stunning, paper flowers offer a unique and everlasting alternative that you can create yourself. In this comprehensive guide, we’ll walk you through the steps to make beautiful paper flowers. Whether you’re a seasoned crafter or a beginner looking for a creative project, you’ll find this guide helpful.
Materials You’ll Need To Make Flowers with Paper
Before we dive into the step-by-step instructions, let’s gather the materials you’ll need for making paper flowers:
Basic Materials:
- Colored craft paper: Choose your favorite colors to match the type of flowers you want to create.
- Scissors: A sharp pair of scissors is essential for precise cutting.
- Pencil: To draw and trace templates.
- Glue stick: Use a good quality glue stick for a secure bond.
- Craft wire or floral wire: This is optional, but it can be used to make stems for your paper flowers.
- Green floral tape: If you’re using wire, you’ll need floral tape to cover it and create realistic stems.
- A ruler: For measuring and cutting paper accurately.
Also Read : How to Get a Girlfriend
Additional Materials (Optional):
- Craft punches: These can be used to create uniform shapes quickly.
- Paper creaser tool: Helpful for making neat folds.
- Watercolor paints and brushes: To add a touch of color and depth to your paper petals.
Also Read : How to Lock Cells in Excel
Here are 10 steps to Make Flowers with Paper
Step 1: Choose Your Flower Design
The first step in making paper flowers is deciding which type of flower you want to create. There are countless flower varieties, from roses to daisies, and each has its own unique charm. Do a quick online search or browse through crafting books to find templates or inspiration for your chosen flower.
Step 2: Prepare Your Template
Once you’ve selected your flower type, it’s time to create or obtain a template. You can find free templates online or draw your own. If you’re not confident in your drawing skills, many craft stores sell pre-made templates you can trace. Carefully trace the template onto your colored craft paper using a pencil.
Step 3: Cut Out Your Petals
Using your scissors, cut along the traced lines to create your flower petals. Be as precise as possible, as the shape of your petals will greatly affect the final result. If you’re making multiple layers of petals, be sure to cut each layer separately.
Step 4: Shape and Curl the Petals
To make your paper flowers look more realistic, use your fingers to gently shape and curl the petals. You can do this by rolling the edges inward or outward, depending on the look you want to achieve. This step is where you can get creative and add your personal touch to each petal.
Step 5: Assemble the Flower
Now it’s time to assemble your paper flower. If you’re making a multi-layered flower, start by gluing the smaller petals on top of the larger ones. Be sure to apply glue only to the base of each petal, leaving the tips free for a more natural look. Continue to stack and layer the petals until you’re satisfied with the fullness of your flower.
Step 6: Create the Flower Center
Depending on the type of flower you’re making, you may need to create a center. For example, for a sunflower, you can cut a small circle out of brown craft paper and glue it in the center of the petals. Get creative and experiment with different centers to achieve the desired look.
Step 7: Add Leaves (Optional)
To make your paper flower even more realistic, consider adding paper leaves. These can be cut out separately and attached to the stem or directly to the flower base.
Step 8: Make a Stem (Optional)
If you want to create paper flowers with stems, you can use craft wire or floral wire. Attach the wire to the base of your flower using glue, and then wrap it with green floral tape to create a realistic stem.
Step 9: Finishing Touches
Inspect your paper flower and make any final adjustments. You can add details like watercolor paint to the petals for a more natural look or use a creaser tool to make the folds more defined.
Step 10: Display Your Paper Flowers
Your paper flower is now complete! You can display it in a vase, create a bouquet, or use it for various craft projects like greeting cards, scrapbooking, or home decor. Get creative and experiment with different colors, sizes, and flower types to make a stunning collection of paper flowers.
Also Read : How to Play Blackjack
Conclusion
Making paper flowers is a delightful and rewarding craft that allows you to express your creativity and enjoy the beauty of flowers year-round. With just a few basic materials and some patience, you can create intricate and lifelike paper blooms that will brighten any space and make heartfelt gifts for friends and family. So, gather your supplies, choose your favorite flower designs, and start crafting your own beautiful paper flowers today!


